
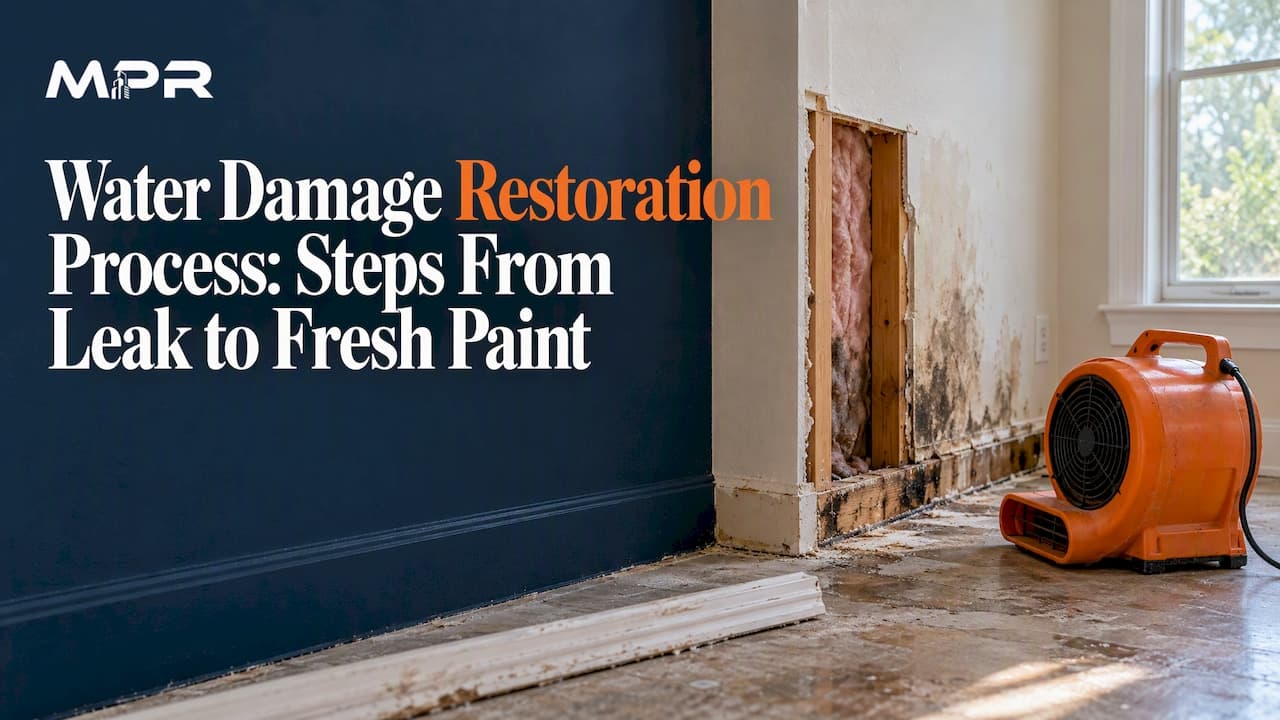
Water damage restoration follows a fixed order: stop the water, make the home safe, document everything, remove standing water and ruined materials, clean, dry with equipment, verify dryness with measurements, then repair drywall, flooring, trim and paint. In Houston, where the air is already heavy with moisture, the drying and verification steps decide whether the repair lasts. Skip them and the new paint blisters, peels or hides mold.
This guide walks through each stage in the order it happens, explains why Houston's humidity changes the timeline, and shows where painting and drywall repair fit. We are painters and remodelers, so we focus on the repair and finish end of the process, and we say plainly where a different specialist should lead.
TL;DR
- The process runs: stop the source, document, extract water, remove unsalvageable materials, clean, dry, verify, repair, then prime and paint.
- The EPA advises drying wet areas within 24 to 48 hours to prevent mold growth, so speed matters.
- Houston's warm, humid air can slow drying, so measured moisture readings beat guessing or opening windows.
- Never paint or close up walls until readings confirm the materials are dry. Paint does not fix a moisture problem.
- Ask for a written scope that separates drying, demolition, drywall repair, priming and finish coats.
Table of Contents
- What actually happens after water damage
- Step 1: Stop the water and make the home safe
- Step 2: Document the damage before you clean
- Step 3: Inspect and map the moisture
- Step 4: Remove standing water and unsalvageable materials
- Step 5: Clean and address contamination
- Step 6: Dry the structure, and why Houston is tricky
- Step 7: Verify that everything is dry
- Step 8: Repair and rebuild
- Step 9: Prime and paint
- Perspective: why we won't paint a wall we can't trust
- What to ask before you sign a repair estimate
- A realistic timeline
- Working with us on the repair and paint side
- FAQ
- Sources
What actually happens after water damage
The first hours are about limiting damage, not about looks. A burst supply line, a roof leak after a storm, an overflowing water heater or a failed AC drain line all start the same clock. Wet drywall, insulation, baseboards and subfloors begin to deteriorate quickly, and the EPA notes that mold can grow on wood, drywall, carpet and furniture if they stay wet for more than 24 hours.
Industry practice is organized around the ANSI/IICRC S500 standard, which describes the procedures and precautions for water damage restoration in residential, commercial and institutional buildings. It covers inspection, drying science, equipment, safety, documentation and structural restoration. You do not need to read it, but knowing it exists helps you judge an estimate: a serious contractor can explain what they will measure and document.
Two terms get mixed up:
- Mitigation is stopping further damage: extraction, removing wet materials, drying.
- Restoration or repair is putting the home back: drywall, flooring, trim, cabinets, paint.
Different companies often handle each part. That is normal, as long as someone clearly owns each step.
Step 1: Stop the water and make the home safe
Shut off the water at the fixture valve or the main. If the leak is from a roof or an exterior opening, protect the opening as best you can. If water has reached outlets, appliances or the electrical panel, stay out of the area and call a licensed electrician before touching anything.
The EPA also warns against running HVAC equipment that has been affected by floodwater. Have it inspected first. Contaminated water, meaning sewage backup or storm floodwater, is a different category from a clean supply-line leak. It can carry bacteria and chemicals, so it calls for professionals and protective gear rather than a weekend of DIY.
Step 2: Document the damage before you clean
Before moving or discarding anything, photograph and video the rooms and belongings. EPA guidance says to contact your insurance company and take pictures before you start cleanup. Keep receipts, equipment logs, written reports and every repair estimate.
A practical documentation list:
- Date and time you discovered the damage, and the suspected cause.
- Wide and close photos of every affected room, ceiling, wall and floor.
- A list of damaged belongings with approximate value.
- Names and numbers of everyone you speak with at the insurer.
- Copies of all invoices, including drying equipment rental and demolition.
Coverage depends on your policy and on the cause of the loss. Sudden internal leaks are treated differently from outside flooding, so read your policy or ask your agent what it covers. We cannot tell you what your insurer will approve, but a clean paper trail helps every conversation.
Step 3: Inspect and map the moisture
Water travels. It wicks up drywall, runs under flooring, and settles inside wall cavities and insulation where you cannot see it. Professionals use moisture meters and, where appropriate, infrared cameras to identify hidden moisture in wallboard, wood, carpet, brick and concrete.

The result should be a moisture map: which rooms and materials are wet, how wet, and what the target dry reading is. This baseline matters later, because "dry" is a number, not a feeling. A wall can feel dry to the hand and still be wet inside.
Step 4: Remove standing water and unsalvageable materials
Standing water comes out first, usually with pumps and wet vacuums. Then comes the hard decision about what stays. Materials that cannot be fully dried and cleaned, especially porous ones that were contaminated, may need to be removed and replaced before any cosmetic repair.
Typical removals include:
- Wet carpet pad and sometimes the carpet itself
- Saturated insulation
- Drywall that has wicked water well above the floor or sagged under a ceiling leak
- Baseboards and trim that have swollen or delaminated
- Particleboard cabinet bases that have soaked up water
Often the cut line is made higher than the visible stain, because moisture climbs. Removing a bit more than strictly necessary is cheaper than reopening a wall later.
Step 5: Clean and address contamination
Once the wet debris is out, surfaces are cleaned so that what remains does not feed mold or hold odor. Clean-water leaks are simpler. Anything involving sewage or floodwater needs stricter handling and disposal.
If you find visible mold or a musty smell persists, stop and think about who should assess it. Texas regulates this area: the Texas Department of Licensing and Regulation licenses mold assessors and remediators, and the rules require contractors performing those activities to be properly licensed. Ask to see a license before you hire anyone for mold work. A painter should not be treating mold, and neither should a company that cannot show you credentials.
Step 6: Dry the structure, and why Houston is tricky
Drying is the stage most homeowners underestimate. It uses air movers, dehumidifiers and sometimes specialized drying systems for wall cavities and floors. The EPA lists wet-vac extraction, fans, blowers and dehumidifiers as the main drying tools, and also notes that high humidity reduces blower effectiveness.
That is the Houston problem. On a muggy August day, the air outside already holds a lot of water, so throwing the windows open can add moisture instead of removing it. EPA flood guidance says warm, humid outdoor air can slow drying, and that air conditioning, dehumidifiers, fans and controlled ventilation may be needed.
What this means in practice:
- Drying time is set by measured conditions and materials, not by a fixed number of days. Dense framing and subfloors take longer than drywall.
- Keep the AC running if it is safe to do so, and let the dehumidifiers do the heavy lifting.
- Be wary of anyone who says the house will be dry "in three days" without taking readings.
For a sense of the target, the EPA recommends keeping indoor relative humidity below 60 percent, ideally between 30 and 50 percent. A basic humidity meter is an inexpensive way to keep an eye on the rooms after the equipment leaves.
Step 7: Verify that everything is dry
This is the checkpoint that protects your paint job. A professional drying project is not finished because surfaces feel dry. Readings should be taken at the start, tracked during drying and compared against the dry standard before equipment is removed. Ask for those readings in writing.
Why it matters for finishes: trapped moisture causes blistering, peeling, failing drywall joints, odors and renewed mold. The EPA's core advice is that moisture control is mold control: if the leak or humidity problem remains, the problem returns even after a clean-looking repair.
If materials stayed wet beyond the 24 to 48 hour window, assume mold may have started and have it investigated rather than painting over it.
Step 8: Repair and rebuild
Only now does the cosmetic work begin. This is where a painting and remodeling contractor earns its place. Typical repair steps:
- Drywall: replace removed sections, tape, mud and sand so seams disappear. Matching existing wall texture takes skill, especially on ceilings.
- Insulation and framing: restore anything that was cut out.
- Flooring and trim: install new flooring or baseboards where materials were removed.
- Cabinets and carpentry: replace or repair water-damaged bases, toe kicks and panels.
We handle drywall, insulation and framing, flooring, custom carpentry and related remodeling work in the Houston area. If the damage hit a kitchen or bathroom, the repair can also be a chance to update it, and our kitchen remodeling and bathroom remodeling pages explain how those projects work.
Step 9: Prime and paint
Painting is the last step, and doing it properly takes more than a coat of white.
- Spot prime new drywall and repairs. Fresh joint compound and bare drywall absorb paint differently from the surrounding wall. Without primer you get dull patches, a flaw called flashing.
- Seal stains as needed. Old water stains can bleed through standard paint. A stain-blocking primer is chosen for the stain and the surface.
- Paint the whole wall, not just the patch. Wall-to-corner coverage hides the repair. A single touched-up square almost always shows in raking light.
- Finish trim and cabinets. Replaced baseboards and doors need caulk, primer and finish coats to match the rest of the room.
Our interior painting work covers this finishing stage, and if the leak started outside, such as a failed roof edge or wet siding, the exterior painting team can repaint once the structure is sound and dry.
Perspective: why we won't paint a wall we can't trust
Painters see the end of the story. We are often the ones called after a leak, when the homeowner wants the room to look normal again, and the most useful thing we can do is slow the job down when the readings are not there.

We would rather wait a few days and confirm a wall is dry than put a fresh finish on a wall that is still holding moisture. Paint on damp drywall is a promise the wall cannot keep. In Houston, where humidity works against every drying effort, we treat verified dryness as a precondition for priming, not a nice-to-have.
We are licensed and insured, and we run projects from a free consultation to a final walkthrough. We stay in our lane: where the job needs mold assessment or specialized mitigation, we tell you so and you should use a properly licensed specialist for that part. Where it needs drywall repair, carpentry, flooring and paint, we do that work and put the scope in writing so you know exactly what is included.
— Abraham
What to ask before you sign a repair estimate
The IICRC framework treats documentation and risk management as part of the job. For you, that translates into a better estimate. Before signing, ask:
- Who corrects the source of the water? A plumber, roofer or HVAC technician fixes the leak. Restoration is a separate responsibility unless you contract for it.
- What readings will be documented, and what is the drying goal?
- Which materials are coming out? Get the demolition list in writing.
- What exactly does the estimate include? The scope should separate drying or mitigation, demolition, mold-related work, structural repairs, primer, finish coats and excluded work.
- Who is licensed for what? For mold work, ask for the Texas license. For repairs, ask about insurance and references.
- How will occupants and unaffected rooms be protected? Containment and dust control matter.
A vague one-line quote is a warning sign. A clear estimate makes it easy to compare bids and to share with your insurer.
A realistic timeline
Every loss is different, so treat this as a sequence, not a schedule:
| Stage | What happens | What drives the length |
|---|---|---|
| Stop source and secure | Shutoff, safety checks, photos | How fast you discover it |
| Extraction and demolition | Water out, wet materials removed | Size of the loss and water type |
| Cleaning | Surfaces cleaned, debris removed | Contamination level |
| Drying | Air movers and dehumidifiers run, readings logged | Materials, humidity, building layout |
| Verification | Final readings against the dry standard | Whether readings reach the goal |
| Repairs | Drywall, trim, flooring, carpentry | Scope and material lead times |
| Priming and paint | Prime, finish coats, trim, touch-up | Number of rooms and cure time |
Insurance approvals can add waiting time between stages, so ask your adjuster what they need and when.
Working with us on the repair and paint side
If you are past the drying phase, or you need to plan the repair while mitigation is underway, we can walk the home, scope the drywall, trim, carpentry and painting, and put it in a written estimate. Our property damage restoration page outlines what we offer. We offer flexible financing for larger projects, which can help when an insurance payout does not cover everything or arrives slowly.
We do not publish prices, because a water-damage repair depends on what was affected. The right way to find out is to request a free estimate and have someone look at the actual rooms.
FAQ
How long does water damage restoration take?
It depends on the amount of water, the materials affected and the humidity. Drying is governed by measured readings, not a set number of days, and in humid Houston weather it can take longer than people expect. Repairs and painting follow once dryness is verified.
Can I paint over water damage?
Not until the area is verified dry and any damaged materials have been removed or repaired. The EPA says that if materials stay wet beyond 24 to 48 hours, mold may have grown and should be investigated rather than covered. Painting over active moisture usually leads to blistering, peeling and odors.
Do I need to hire a company for mold?
For anything beyond a small, visible spot, yes. Texas licenses mold assessors and remediators through the Texas Department of Licensing and Regulation, so ask for a license. Painters and general contractors should not be performing mold remediation unless they hold the proper license.
Should I open the windows to dry the house in Houston?
Usually not. Warm, humid outdoor air can slow drying, and the EPA notes that air conditioning, dehumidifiers and controlled ventilation may be needed. Follow your drying professional's guidance and the actual readings.
What should I do first after finding water damage?
Stop the water, stay away from electrical hazards, and photograph everything before cleanup. Then call your insurance company and a drying specialist. Once the home is dry, call us for the drywall, flooring, carpentry and paint work.
Sources
- A Brief Guide to Mold, Moisture and Your Home, US EPA
- Flood Cleanup to Protect Indoor Air and Your Health, US EPA
- Homeowner's and Renter's Guide to Mold Cleanup After Disasters, EPA
- Mold: Worker and Employer Guide to Hazards and Recommended Controls, EPA
- S500 Standard for Professional Water Damage Restoration, IICRC
- Mold Assessors and Remediators FAQs, Texas Department of Licensing and Regulation